First off, I super glue the fig to a 1" square metal base. I've been doing this for years...mostly to facilitate storage, transport and ranking up figs into units. The metal base is magnetic, and all of my figs are stuck to magnetic stands.

So...to quickly base a fig, spread around some white glue.

Dip the base into a tub of sand...this is the stuff from GW; crushed walnut shells and all.

Let this dry.
Next, slather on some Scorched Brown paint, then let that dry. As you can see, this process is good when you're doing a lot of figs at a time...by the time you're finished the last in the batch, the first one is dry and ready to move onto the next step.

Next, I dry brush on some Vomit Brown...but of course, any orange-brown will do.

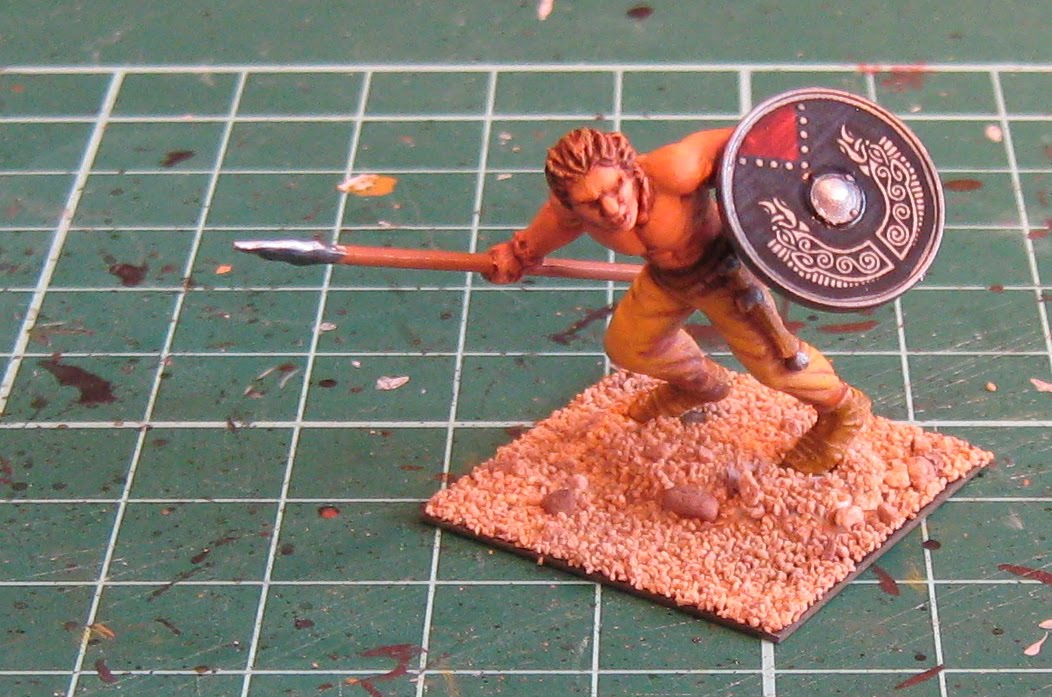
Next, dry brush on some Bleached Bone...or any off-white. As you can see, the base that the figure is on pretty much awkwardly stands out from the 1" metal base. Never fear...that's where the static grass comes in.

Finally, dab on some splotches of watered-down white glue. Make the splotches irregular in shape, but cluster them around the joint between the figure base and the metal base...this will hide the "seam" between the two bases. Then sprinkle on some static grass, tap off the excess, blow on it to get it to stand up as best it can, and presto...the fig is based and the seam is really tough to spot, especially on the game board.

Here is the current state of the Celt army project. Stuff is mostly painted, except for the details, and basing is underway. Sunday was a big production to get the shields finished off. Shield finishes are a mix of Warlord, Wargames Factory, Little Big Men and hand painting.

'Til next time!


Nice and simple. Great little tutorial ...
ReplyDeleteYour figures are looking great !
Very nice. I've been using sand out of sand bags (finer grain) and I have been sealing the sand before drybrushing. But the effect you get is very, very nice! But I am not paying GW for freakin' sand!
ReplyDeleteNice trick for hiding the "seem" between the bases - that would save tons of time not having to monkey around with spackle/filler/etc
ReplyDeleteBob,
ReplyDeleteHaha...I was expecting a comment about the GW sand!
Just the tutorial I need as I'm about to base a pile of 15mm minis. Kevin, do you plan on giving your game a go before Mayday?
ReplyDeleteScott,
ReplyDeleteIndeed...of course, that's not necessarily contingent on all the figures being done first. And I think that my Romans will be coming in under the wire for Mayday! Anyway, I want to playtest the command structure I'm thinking about for this particular game.
Sorry Kevin - what ruleset are you using? Are youinterested in the Hail Caesar rules coming out soon?
ReplyDeleteHi Battlemind,
ReplyDeleteThis army is for a Command & Colors scenario I'm running at the local miniatures convention in May...gotta do the Roman army in April.
I am interested in Hail Caesar...will want to take a look at it before laying out the money, but Black Powder was a good buy, so I'm sure I'll get these new rules.
This is a good tutorial, consider it collected:
ReplyDeletehttp://nurgle.muschamp.ca/paintingAdvice.html#OtherAdvice
Thanks Kevin. That's alot of work for a C&C game! Good on 'ya. Make sure you photograph your table - I want to see how you handle terrain, etc. I'm an almost daily visitor, and really admire your ingenuity. Keep it up!!
ReplyDeleteBattlemind,
ReplyDeleteWill do! And a little terrain tutorial coming up this weekend.