I was in Normandy last spring and learned a lot about the Canadian contribution to the Allies D-Day effort. Since that time, I've been collecting models for a Canadian Normandy game, to be put on some time in the future.
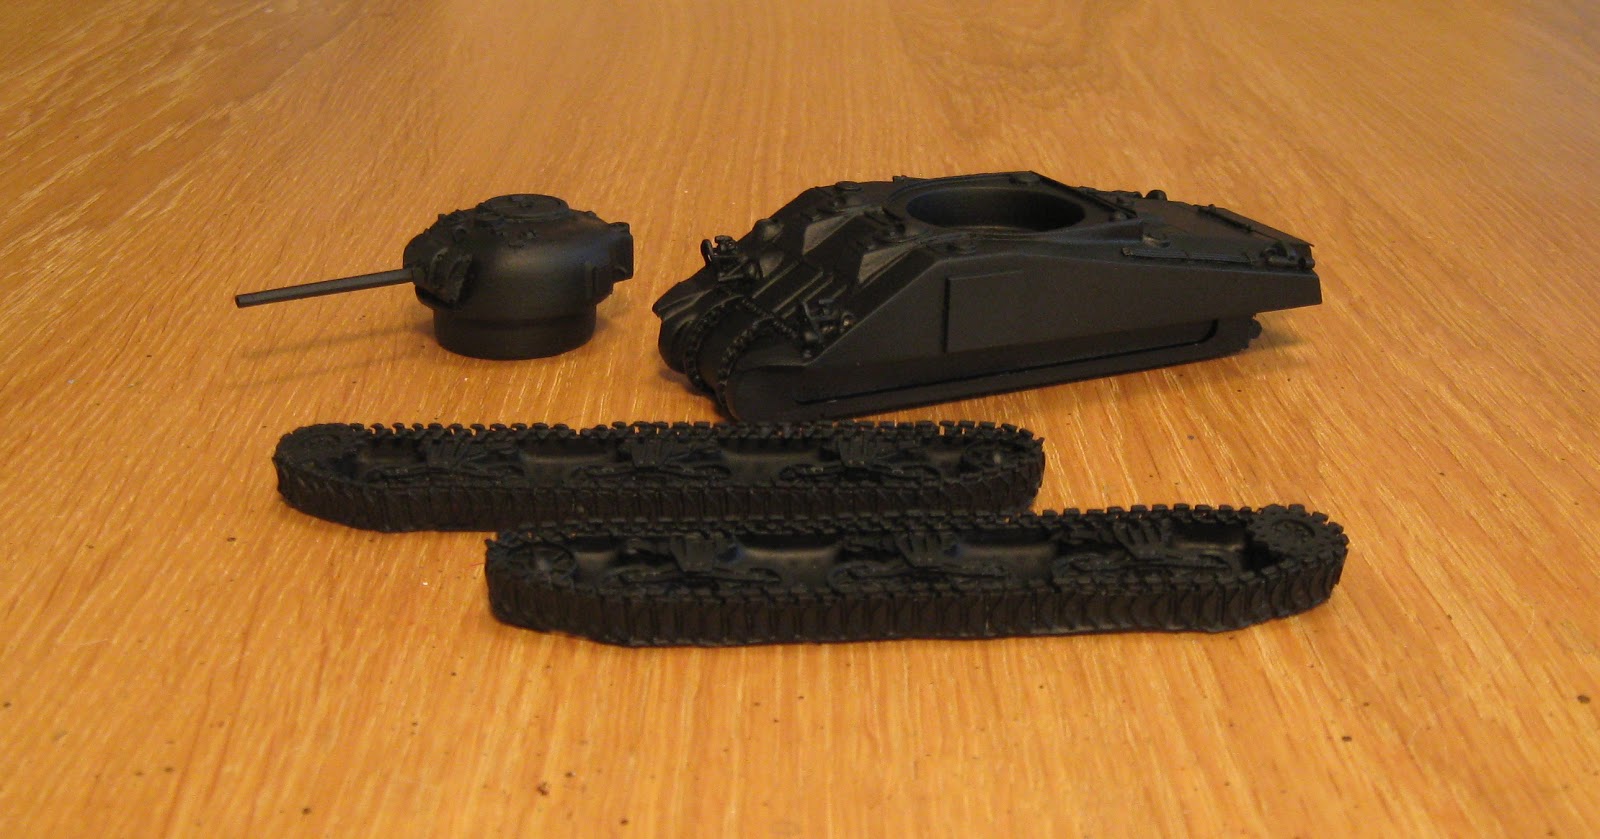
I've finally gotten around to assembling and painting the 1/56 scale M4A4 Sherman from Die Waffenkammer (JTFM Enterprises).

The JTFM line is reputably the best 28mm series of WWII vehicle models you can get. I really haven't seen enough examples from different manufacturers to render a judgement, but I was pretty pleased with this resin tank. Nice sculpt with good proportions. Fair cast (a little soft around the bogies). No air bubbles in the resin.

Step 1) After cleaning up the cast (there was a minimum of flash), I primed black.
Step 2) Spray Vallejo US Olive Drab.

Step 3) I modulated the surface by overspraying a couple of lighter shades towards the center of each flat surface.

The color progression I used was US Olive Drab, Light Grey Green and Hemp.

Step 4) Overspray with Future floor wax, then add the decals/markings. The kit did not come with decals, so I went to the spares box for a lot of these. In terms of the vehicle being modelled, I wanted to do a representative Canadian Sherman from Normandy. So, I chose a tank from The Fort Garry Horse. This is vehicle 42, B squadron, 10th Armoured Regiment, 2nd Armoured Brigade, 1st Canadian Army. The Fort Garry Horse fought alongside several different regiments from the 3rd Canadian Infantry Division during the Normandy campaign...starting with the landings on D-Day. This would be a vehicle fighting inland through June and July, 1944.

Step 5) Weathering. After a spray of clear flat to seal in the decals, I used a combination of weathering pigments/rubbing alcohol and splattered acrylic mud colors. I also painted up the stowage and glued that onto the hull as well.

In this shot you can see a bit of cheese cloth I added as a piece of rolled up netting.

And finally, a rear shot. Not a bad kit. I enjoyed painting the guy up and got some satisfaction out of researching the particular unit this tank belonged to.

'Til next time.


Hi Kevin,
ReplyDeletethat Sherman is really awsome. I like each and every inch of it!
Thanks for the hint with JTFM Enterprises. I'm just looking for some British 28mm vehicles for Bolt Action.
Cheers
Monty
Great tutorial - thank you.
ReplyDeleteTony
Lovely work and thanks for the JTFM tip. I'm still waffling between 1/56 and 1/50 for my 28mm stuff but its always good to have several options in the wings.
ReplyDelete