Ah, Menoth. Back in the saddle. Cryx, you've been a fun ride, but it's time to get back to my first Warmachine faction. And what better way to return to the fold than with the new Colossal, the Judicator.

Holy smokes, this model is not for the faint of heart. You certainly need intermediate to advanced modelling chops to put this guy together. When you spill everything out on the table, you essentially get a pile of knobs and triangles. If it hadn't come with a (minimal) assembly sheet, I don't think I would have figured out how to get this jumble of bits to look like anything other than a Menoth scrap heap.

And the flow gates for the resin. Craaaazy! I have done a lot of WWI modelling and am familiar with limited run plastic kits that need a lot of massaging to get into assembly shape. The Judicator totally fits into this category. The casts are nice, but the flow gates you have to remove are insane. Here are just a couple of examples.

After a few hours of cleaning up the parts, and following the assembly sheet, here are the major chunks of the model prior to painting. I left several parts unassembled for easier painting. One major note...like all good giant robots, the forearms are much bigger than the upper arm pieces. I pinned both ends of the tiny upper arm joiners...otherwise I think you're looking at this model's arms falling off often during play.

OK, time to start painting. I primed in black and then laid down a coat of buff-cream. This lays the foundation for the white gradation I'm going to use as the main color scheme.

Here the whites have been worked up through ivory and pure white.

You can see the gradation of whites in this shot. I think that in the end, my modulation was too subtle. My bad.

The pieces that had the most colors butting up against one another were the forearm guards. After spraying the whites, I masked off for the sanguine red.

This is the sanguine red spray.

OK, the masks worked fine.

I then brushed on the steel and gold colors to finish the forearm guards up.

Here all the parts have received their main paint colors. The menofixes were painted black and then highlighted with shades of cool grey.

The gold color progression bears mentioning. I used a Foundry paint sequence. Brazen-Gold-Shiny. After the Brazen base, I laid down a wash of Sepia and custom dark orange mix. The gold and shiny paints were then drybrushed on. This sequence makes for a nice Menoth gold.

Prior to finishing the base and applying the final weathering pass, I went ahead and finished the main assembly.

The basing was standard (glue-sand-brown-orange-cream-static grass & tufts), and then I added a few resin basing bits from Scibor miniatures (thanks to Roy at Thunderground for bringing these in).
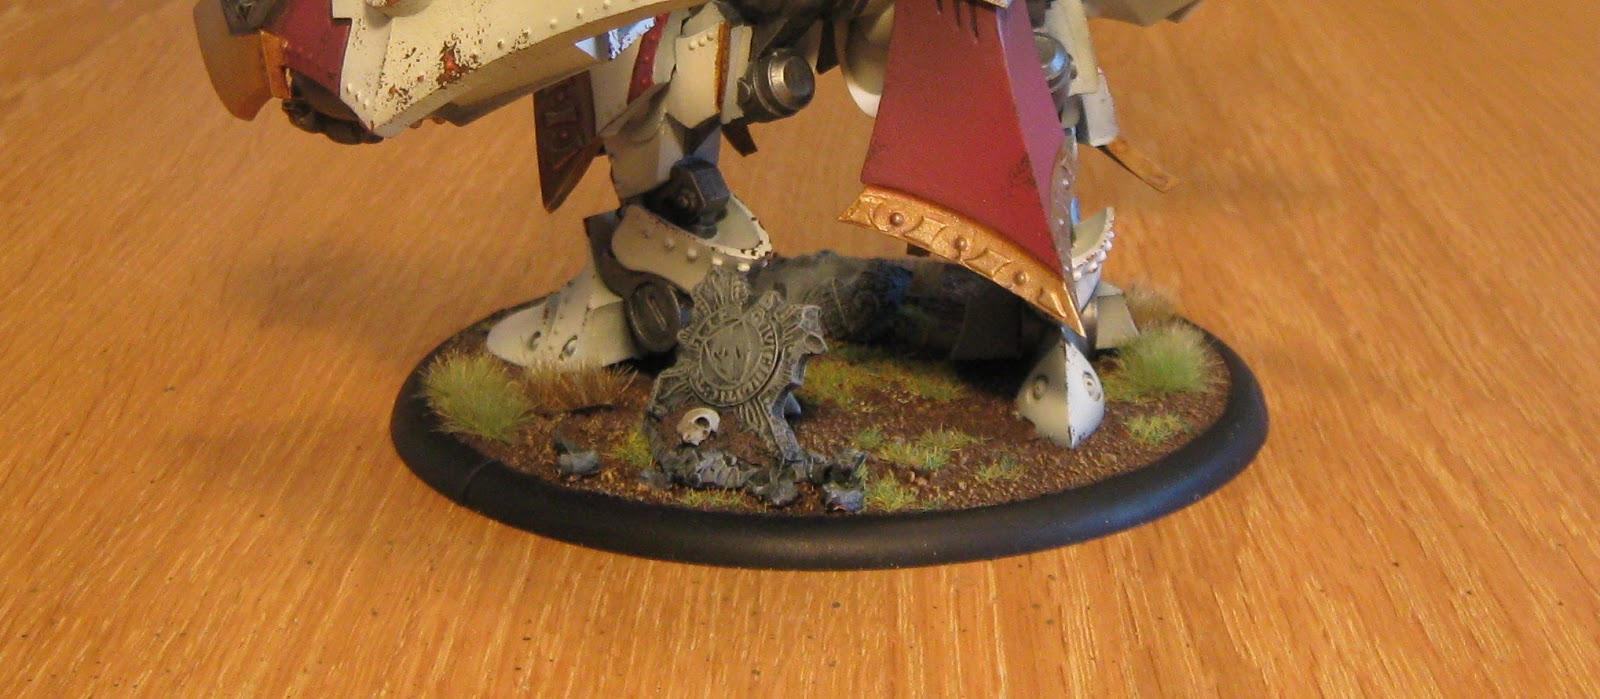
And there it is.

Oh, and there was one final pass for paint chips. These were applied with stippled foam using a mix of dark brown and dark copper paint.

The missile trail residue was sprayed on with dark grey paint.

For size reference, here is the Judicator next to the Cygnar Stormwall I did a few weeks ago. The Judicator feels chunkier and a seems a bit bigger to me.

And finally, the star of the show: our new kitten, Helo (Karl Agathon).

OK, if you're about to build a Judicator, I hope you found this step-by-step assembly and painting guide helpful.
'Til next time.


Looks Awesome Kevin, as do all of your miniatures. What are you using for masking? The painted on mask or just masking tape?
ReplyDeleteAhh nevermind about the masking...I see the tape now
DeleteVery nice step-by-step. I'm in the midst of assembling my Judicator as well and seeing what you chose to leave as separate pieces for airbrushing pieces was very helpful. Thanks!
ReplyDeleteSweet Menoth those are some smooth metals! What's the secret? I dread doing metals...
ReplyDeleteAmazing Judicator btw!
Miniarmy,
ReplyDeleteMetals...thin the paint down significantly. This will give you shitty coverage, but don't despair. Build up the metallic surface over a couple of layers. Let each layer dry completely before touching them again. When you get to the drybrushing stages, again, do it lightly with very little paint and just build up the color gradually.
Very impressive :) However, being a cat person I spent more time looking at the kitten than at the final effect of your work - hope you'll forgive me that ;)
ReplyDeleteViruk,
ReplyDeleteAs it should be!