Showing posts with label Paint. Show all posts

Wednesday, July 12, 2017

Secret Weapon's New Line of Weathering Paints

A few years back, Secret Weapon put a line of weathering acrylics. Loved them. Last year, they were supposed to release wave two in the line, but it never came out. Well, never say never, because 15 new paints were just released. And here they are...


First up, a set of five weathering colours for engines. Grease, oil, engine fluid, rust. Cool stuff.


And stuck in the line is a nice set of four metallic colours. Some awesome metallics here.


Three shades of verdigris. Good for weathering copper and bronze.


A nice surprise: three heat-tinting colours for distressed metal.


So, in case you are unfamiliar with Secret Weapon's previous line of acrylics (which I use constantly), here they are.

Starting with a great line of rust tones.


Dirt and dust.


Three fantastic natural wood colours.


And finally a line of tire rubber paints.


All these guys are airbrush-ready, though I'd recommend thinning them just a little before blowing them through your 'brush. Great and very useful colour set.

'Til next time.

Monday, November 14, 2016

Banshee Painting Seminar, Calgary

Back on the weekend of Nov 5/6, I went down to Calgary to attend a painting workshop put on by Spain's Alfonso Giraldes, otherwise known by his internet handle, Banshee.


There were 10 of us in the class (held at Imaginary Wars), including a couple of other Edmonton guys: Tom Carter and Ward Kapach from the Hobby Night in Canada podcast.


Alfonso had plenty of examples of his unique painting style on hand for us to examine. Very inspirational work.


The two-day class covered color theory on the Saturday and practical painting exercises on the second day. One of the exercises was to produce sets of skin tones using just the three primary colours, white and black. I surprised myself and was able to quickly mix a set of caucasian, oriental and east indian skin tones from yellow, blue, red, white and black paint.


We learned a process called "sketching," where you use a few simple shades to rough out where light is going to be hitting your figure.


I thought I'd have trouble sitting through two long days of instruction. But the time went by very quickly.


Here, Alfonso when through the process of painting a bust figure in 90 minutes.


Our own painting exercise involved 75mm figures. No one was able to finish during Sunday, but I did get a fair bit of the way through my Crusader figure. Here, the main areas have been blocked out and some detail (particularly light effects) painted in. Leather belts and wood have not been approached yet at this point, but you can clearly see the figure taking shape.


Reverse angle. Here, I started into a vibrant night shade for the defuse lighting on the cloak.


By the end of the seminar, the students had made good progress into their 75mm figures.


What's the value of a miniatures painting class without being able to enjoy beer at the end of the day?


All in all, and enjoyable and informative weekend away.

'Til next time.

Sunday, January 4, 2015

The Hobby Table 2015 Edition, and Three Figures

I've recently made some changes to my painting and hobby area. I'll admit, I'm quite fortunate...I am able to dedicate a complete room to building and painting stuff. So, I've taken advantage of the situation, and have laid out the space in the following way.

Under the window is the main painting area. Airbrush station on the left, and brush painting area on the right. I have a computer handy to listen to podcasts or watch painting YouTube videos while working on projects.


The shelving on the left side of the room contains WIP projects (there is a pile of primed Tabletop World buildings, for instance) and the "bins of shame." The bins contain projects that I've started into, but haven't finished. However, whenever I get an itch to get back into one of these old projects, I have quick access to them.


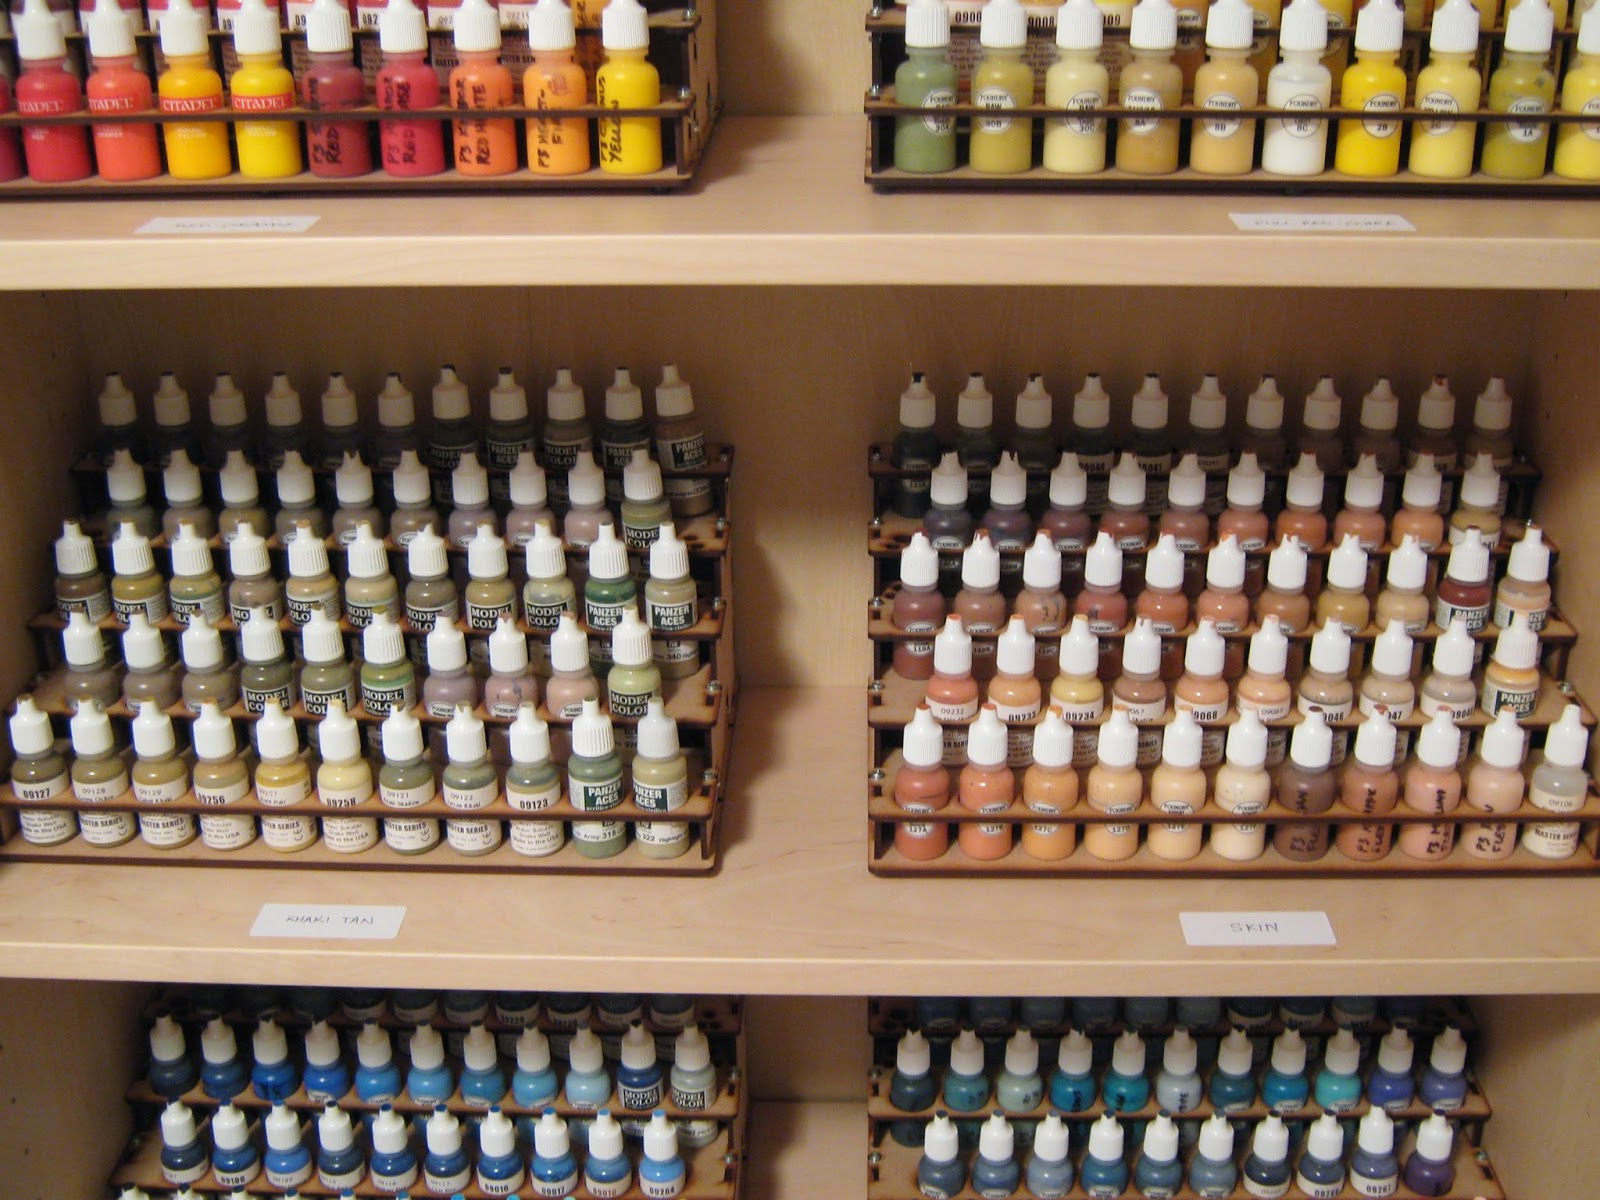
On the right side of the room I've recently set up a couple of shelves for paint racks. For the past couple of years, I've had my paints stored in a stack of plastic bins. But finding the paint I wanted was always a chore...now that all the colours are out and arranged by hue, getting to the set I need for a particular project is a lot faster.


The racks are from Back 2 Base-ix, an organization down in Australia. They come flat-packed, but are pretty fast to assemble...recommended.


And now on to this week's painting projects. Three figures completed. The first two are a couple of Reaper flying lizard men.


I had completed a test figure last month, and just followed suit on the scheme with these guys.


Here are all three of them together.


I've also had this lone RPG elf wizard figure sitting around for some time. He was half-painted and waiting to be finished off.


 Object Source Lighting effort was not great, but gets the idea across.


Well, the airbrush is calling, so back to it.

'Til next time.

Sunday, October 26, 2014

Vallejo Game Air: Using Vallejo's New Airbrush Paints

Many readers are familiar with, and probably use, Vallejo's awesome line of military airbrush paints: the Model Air line. Can't say enough about Model Air paint. Great pigment density, brilliantly pre-thinned for airbrush use. Fantastic coverage. What could Vallejo possibly do to make their line of airbrush paints any better? 

Well...how about a line of bright colours more suited to fantasy and science fiction figures? That's just what they've done. Released in Europe a few months ago, their new Game Air line got great reviews...and it's finally available in North America.

Nothing tells you more about the differences between Model Air and Game Air than this single photo. On the left, there are the muted historical military tones of the Model Air line: USAF Dark Grey, USAF Green and IDF Green. Now, on the right, we have some of the new Game Air colours: Ultramarine Blue, Magic Blue and Electric Blue. Perfect for so many fantasy and sic-fi projects.


So, my first project to try out the Game Air colours was this Mage Knight metal figure of a Crypt Worm. Once I had finished it, I realized that it probably wasn't the best example because I did it up in muted organic colours...but it did at least utilize pink...something not in the Model Air line!


Anyway, starting with the base figure, this two-part model was glued down to a base, primed and inked...and I painted up the flagstone base first. Now to move onto the paint job.


The Vallejo brochure that came with the Game Air colours suggested a few triads of paints that can go well together. I wanted a rotting flesh look for the Crypt Worm, so I used their suggested Khaki—Dead Flesh—Bonewhite progression. At first glance, this didn't make much sense to me; This wasn't a progression of a single colour. But I wanted to give it a try anyway.


I'm glad I did. the subtle brown from the Khaki and green from the Dead Flesh worked really well together. I added in the Squid Pink to provide colour interest around the mouth and underbelly areas of the worm.


To pop out the model's detail, I washed with Sepia, Fleshtone and Red.


I then went in and brush-highlighted the raised portions of the sculpt. This is where I would normally go to standard hobby acrylic paints...but I wanted to see how versatile the Game Air line was, so I used them with a brush. The highlights were painted on with the Dead Flesh, Bonewhite and Stonewall Grey colours.


Super-happy with the results. The thin, but dense, Game Air paints provided great coverage and translucency during the highlighting pass.


And the tonal variations I was able to lay down initially with the airbrush carried through to the final figure.


So, overall, this new line of paints from Vallejo gets two thumbs up from me. I picked up my set at the Game Store in Red Deer, south of Edmonton.


'Til next time.

Monday, September 5, 2011

Paint Madness

Over the past several years, I've been collecting paint sets. Not like I use all of the paints...it's just that I'm a sick, compulsive collector.

Anyway, as I blogged a few weeks back, I was in the process of moving most of my paints over to dropper bottles. I'm happy to say that this stage of paint madness has passed. I now have (and I'm not proud to say it), 800+ bottles of paint from 5 paint sets packed into 10 cases. Yeow!


All the paints have been broken into sets of three...each a shaded progression of a base color. This standard was pretty easy to set, since Foundry and Reaper already used that convention.

So now all the paints from obscure Napoleonic Russian Gun Apple Green to ubiquitous Boltgun Metal are bottled and stored.


Re-bottling paint is damn boring. So, I've been watching instructional hobby painting DVDs from the laptop. Three sets so far.


The 5 DVD set from Mini Wargaming (which could have easily fit on 2 disks) is actually a good introduction to all the major painting techniques. The background music, however, is repetitive to the point of distraction.

The Core Techniques DVD from Privateer was actually a bit simplistic, cursory, and the narrator was annoying. The sample figures weren't painted terribly well either.

I ordered the Hot Lead 3 DVD set (8 hours of video) from the Cool Mini Or Not website. Although the production values were second rate, this was actually the most interesting of the three programs. All basic and several advanced techniques from model prep to basing to painting and finishing were covered, and I had few "Oh, cool" moments while this was playing in the background...you know...while paint was dripping from one pot to another.

'Til next time.