Showing posts with label Cryx. Show all posts

Saturday, September 22, 2012

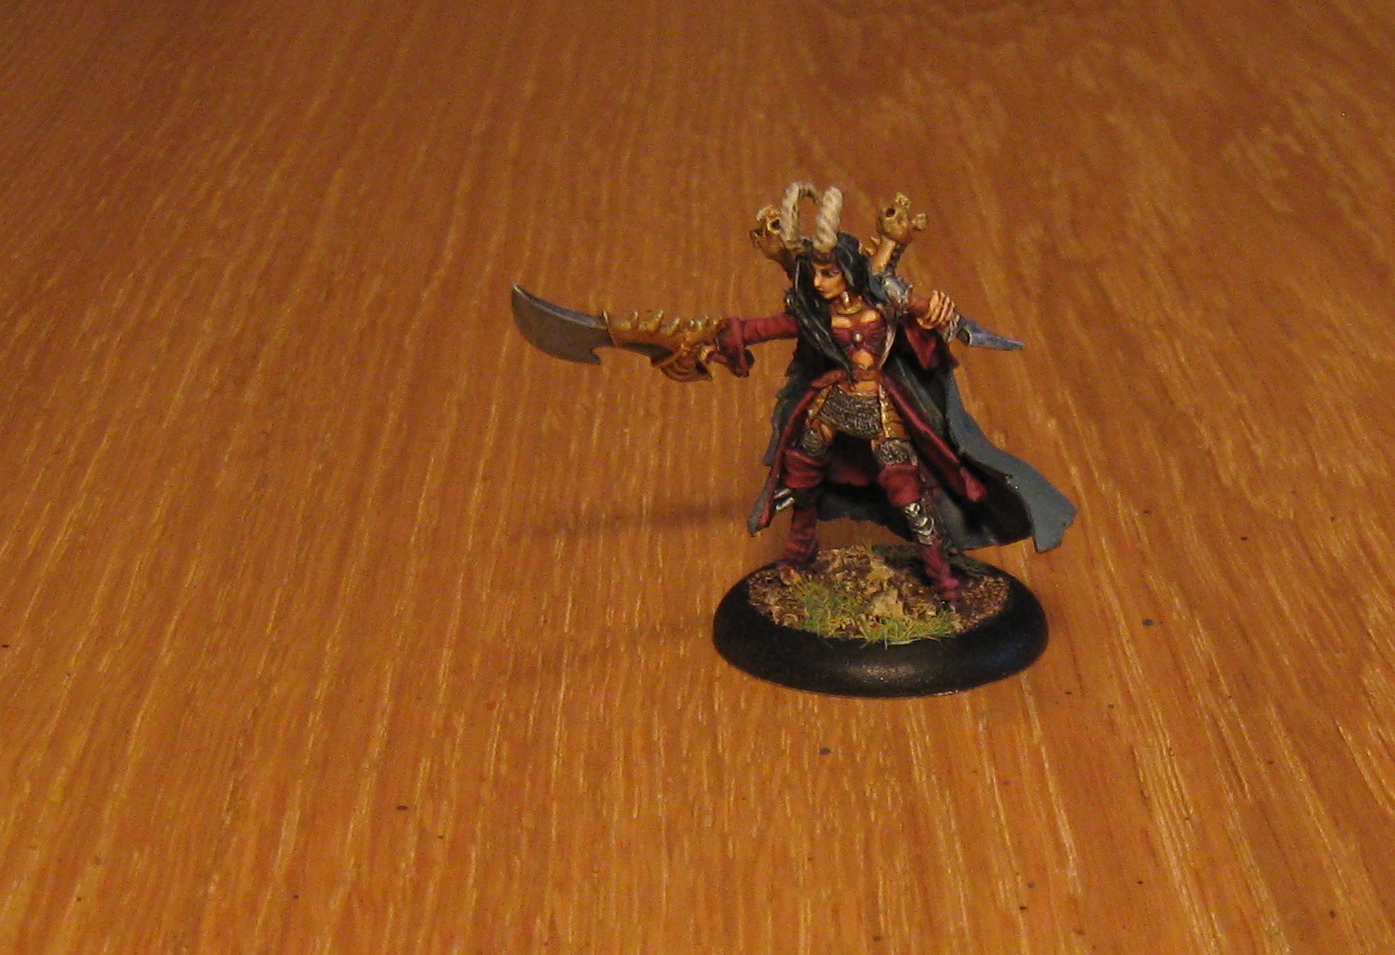
Helldivers...and the end of Cryx

Well, this is it for Cryx miniatures. These two Helldivers were at the bottom of the pile. I can now safely say 20 months into painting and playing Cryx...this is the end of it. Any Cryx lists I want to play until the end of this year (at least...if not much longer) are going to have to come from the bag and a half I now have full of 'casters, units, 'jacks and solos.


The little 30mm bases you see off to the sides in the photos are the "burrowed" versions of these light Bonejacks.


As I've said, I'm going to go back to playing Menoth next year...but I think I'm going to take a side trip into Cygnar just to get a taste of the only Warmachine faction I haven't painted or played. Stupid hobby.

'Til next time.

Sunday, September 16, 2012

Darragh Wrathe

Unbelievably, I'm getting very near the end of my Cryx inventory. Just a few models left to go.

I picked up Darragh Wrathe from a friend selling off part of his Warmachine inventory several months back. Now it's time to paint him. I'm always a little intimidated by cavalry pieces because they inevitably involve more work that you'd think. This one went pretty fast though, since the horse is mostly covered with armor.


Darragh Wrathe (really...how is that pronounced?) is a dragoon figure...meaning he has a mounted and unmounted version. Generally, you paint both models at the same time so that you get identical colors on each.


Well, nothing much to say about this guy, other than I plan to use him in my Terminus list, and that's about it. He makes enemy living models hit less hard, and that's good for attacks on Terminus.

Can't believe I'm almost done with Cryx!

'Til next time.

Tuesday, September 11, 2012

Another Mechanithrall Unit

On the Warmachine-Cryx front, I've been pretty much been playing eSkarre and Mortenebra all year. Not that I'm bored of them, but I've been wanting to get experience with a few other Cryx casters. Right now, I'm looking at pSkarre and Terminus, both of which are infantry-centric warcasters. With those two in mind, I figured I needed another unit of Mechanithralls.

Well, they are pretty quick to paint up...so, presto.


Pretty standard undead flesh, rusty metal and pink rubber hoses.

Here are both units together...the old unit on the left, the new one on the right. I think they mix well together, with the new ones being distinguished by different colored hoses.


'Til next time.

Sunday, September 2, 2012

Iron Lich Overseer

Happy Labor Day weekend. Just one fellow walked off the hobby table this week...the Iron Lich Overseer, again from the Warmachine Cryx faction.


At this point I'm just really filling out the collection, rather than painting pieces I'm intending to use in-game. I'm sure the Overseer has his uses, but I can't see putting him in a list anytime soon.


The tournament season is coming to a close, and my mind is wandering back to Menoth. I've been playing Cryx steady for a year now, but it's time for a change. I'll finish out 2012 continuing to paint and play Cryx, but next year it's back to my original faction.

'Til next time.

Thursday, August 30, 2012

Skarre and Blood Witches

Back from GenCon and back to painting. The big project I have going right now is a platoon of Canadian infantry being painted up for a Normandy scenario I have in mind. However, Warmachine units continue to roll out.

This is a unit of Satyxis Blood Witches with their unit attachment, the Blood Hag.


I've been playing a lot of Epic Skarre over the past several months, but I've never painted her prime version. So, here she is now.


Nothing special on her paint scheme...but I'm interested to find out who I like better with an infantry spam list; her or Terminus.


'Til next time.

Monday, August 13, 2012

Pistol Wraith in 75 Minutes


I'm leaving for GenCon in two days...and at the last minute I decided I wanted to bring along an extra Pistol Wraith for my Deneghra list. Sounded like an opportunity to post a tutorial about speed painting a good table-top quality piece.

I started with the one-piece model based, primed and inked. OK, start the clock.


Blocking out base colors. 30 minutes.

Fast painting calls for a few bold choices. I decided to contrast dark blue with orange-red to help make this simply-painted figure stand out. All base colors are shown here. The inner skirts are Cryx Bane. Main coat is Storm Blue. Scarf and sash are orange-red. Cuffs are leather. Skull and hands are bone. Pistols are wood and steel.


Inner skirts. 5 minutes.

Starting on the Cryx Bane Base, I did a quick highlight with Bastion Grey and then edging with Cryx Highlight.


Coat. 15 minutes.

I spent the most time on highlighting the coat, as this constitutes the majority of the figure. I generally wet-blended up to the highlight color and back down the the base shadows.


The shades and highlights of the coat are fairly subdued, but this helps represent a very matt finish like wool.


Sash and scarf. 5 minutes.

I used P3 paints for the reds, as their pigmentation is quite dense. Their coverage is good. Since this was an exercise in fast painting, I didn't want to waste time with building up multiple coats of red, which would have been the case if I'd gone with a paint like Reaper.


Leather cuffs. 5 minutes.

I used some Vallejo paints for the cuffs. The tones were probably not the best choice (too muted), but I was rushing through and didn't spend a lot of time dilly-dallying over choosing the best leather color.


Guns. 5 minutes.

There were only two colors required for the guns, and the equipment was quite small. Pretty fast to paint up.


Bone. 5 minutes.

I used a wet-brushing technique for the head and hands. Wet-brushing is like drybrushing, but using damp, thin paint.


Base. 5 minutes.

This is a very simple base with a couple of stones and some static grass. The drybrushing goes very quick, and the paint dries so fast, you can move straight on to the static grass.


All tolled, 75 minutes of painting. Adding in a little drying time between stages and a few minutes for a coat of matt spray to dry on the figure, this Pistol Wraith still comes in at under 1.5 hours from start to finish. Just enough time to listen to a Warmachine podcast (today I listened to an episode of Road to War, from the guys in Texas).


Now I'm off to GenCon, and I hope to post from there. If you are at GenCon, look for the tall fellow in glasses toting around the Cryx bag...that would be me. Stop and say hello!

'Til next time.

Saturday, August 4, 2012

Terminus

OK, hope everyone is having a great summer. The weather here has finally become consistently nice...yay for sun and heat!

So, I've had the Terminus box sitting in the closet for well over a year. It was time to bust him out and paint him up. As I was assembling him, I quickly came to realize that this was likely the most visually confusing, poorly sculpted and horribly cast models put out by Privateer. That it actually builds up into something pretty impressive is surprising. I like the end result.

I started with the airbrush and laid down some base colors. There are essentially two main areas of the model...the wings and the body.


I started by painting the wings. Over the airbrushed colors, I drybrushed on some light tans and orange-browns. I then went in and put a brown wash over everything. Done.


I then went on to the body, which got the standard rust and dust treatment. To break things up a bit, this sculpt included a little bit of clothing over the upper arms. This was a good opportunity to break up the big block of rust we'd otherwise be looking at.


As I was painting Terminus, it struck me how similar the design elements of the model are mirrored in Legion's Epic Thagrosh warlock. So, here's my Thagrosh figure. Between the two there is no contest...the Thagrosh model is superior in every way. Well sculpted, finely cast and the pose is just flat out better.


A few more views of finished Terminus.


In the end you get a fairly nice, imposing model.


'Til next time.

Monday, July 30, 2012

Bane Knights & Bloodgorgers

Made good progress on a couple of Cryx infantry units over the weekend, so finished them off today and thought I'd do a mid-week update.

The first is a unit of Bane Knights. The steel was weathered using the techniques listed in the tutorial I posted last weekend. The bronze was aged with a turquoise ink wash.


The cloth was done with Foundry Deep Maroon.


The second unit is the rest of the Bloodgorgers. These were completed just like the unit leader, who was painted up last weekend.


Had fun getting the blood splatters onto all the weapons and armor.


'Til next time.

Friday, July 27, 2012

Tutorial: Weathering Metal Armor

A couple of months back, I promised a tutorial on distressing and aging metal without using weathering pigments. I was going to show this on some Cryx Bane Knights. Well, here is the tutorial (finally), but on a Bloodgorger model instead. Plenty of armor to weather here!


So, we start with the model assembled, primed white, inked black and based.


Normally, I'd work from the skin outwards, but there is so much metal on the figure there will be a lot of messy drybrushing. Best to do the metal first and then go back in and paint the skin and other details later.

For the iron armor, start with a very thin coat of Reaper Shadowed Steel. This is a bluish metallic, which creates a very nice undertone to work with. Keep all layers ultra thin...there will be plenty of them to build up the color.


Next, a wash of umber.


As you can see here, this creates the first layer of rusty grime.


A light drybrush of Honed Steel, which is the shade up from Shadowed Steel.


Then another light drybrush, this time with Polished Silver.


The silver drybrush pops out the rivets and plate edges.


And now add the final wash...this time sepia.


This is a lighter color than the underlying umber, so it adds some tonal contrast and sets up a nice base for the rust that will come later.


At this point add a final light drybrush of Polished Silver to accentuate edge wear on the steel plates.


Now move onto the bronze metal areas. For this, I wanted to try out the new GW series paints and their recommended progression for bronze. It starts with Screaming Bell (hate the new GW names). Screaming Bell is really red...it's more like a copper color than a bronze base...but what the hell.


This close up shows the color's tone.


Instead of GW's Reikland Fleshshade wash, which is recommended at this point in their bronze progression, I used my own gold wash, which is a mix of dark orange ink and matte medium.


This wash adds the appropriate shadows to the bronze base.


Next, a couple of GW layer paints, lightly drybrushed on. The first is Hashut Copper.


And the second is Sycorax Bronze.


These colors leave the bronze with a distinct reddish tone. I'd say it's more coppery than is should be...but that's just me.


The final step in the new GW progression is Golden Griffon, which is what they call a dry pigment. These "dry" colors are very thick, pigment-heavy pastes, which seem kind of like half-dried-out paint pots. Fine for drybrushing.


The bronze is brightened up a little at this point.


The final stage here is to add a light wash of sepia. This ties the bronze areas back in with the steel.


The final look of the bronze.


OK, time for a little rust application. Here are the Reaper and Vallejo colors used. As usual, these paints are cut with water and then a drop of rubbing alcohol is added to break surface tension. Dab the various tones onto the metal areas. Concentrate your dabs around rivets and in the folds of the plates.


This stage really ages the metal nicely.


Again, add a really light drybrush of silver at this point to bring the edge wear back up.


The silver drybrush can be added to the bronze areas as well to highlight their edges.


Add in blood splatters at this point. Load a brush tip with brown ink and then blow it onto the weapon edges, and lightly onto areas of the armor. Follow this up with red ink (again, blown off a brush tip).


Now our Bloodgorger looks like he's right in the middle of a fierce battle.


At this point, the metal is done. It is aged and weathered, and ready to go.


Go in and paint the skin (Reaper Olive Skin tones for this guy).


Leather, cloth, bone and the final gear details can be added at this point.


And there you have it. Hope you found this tutorial helpful.


'Til next time.