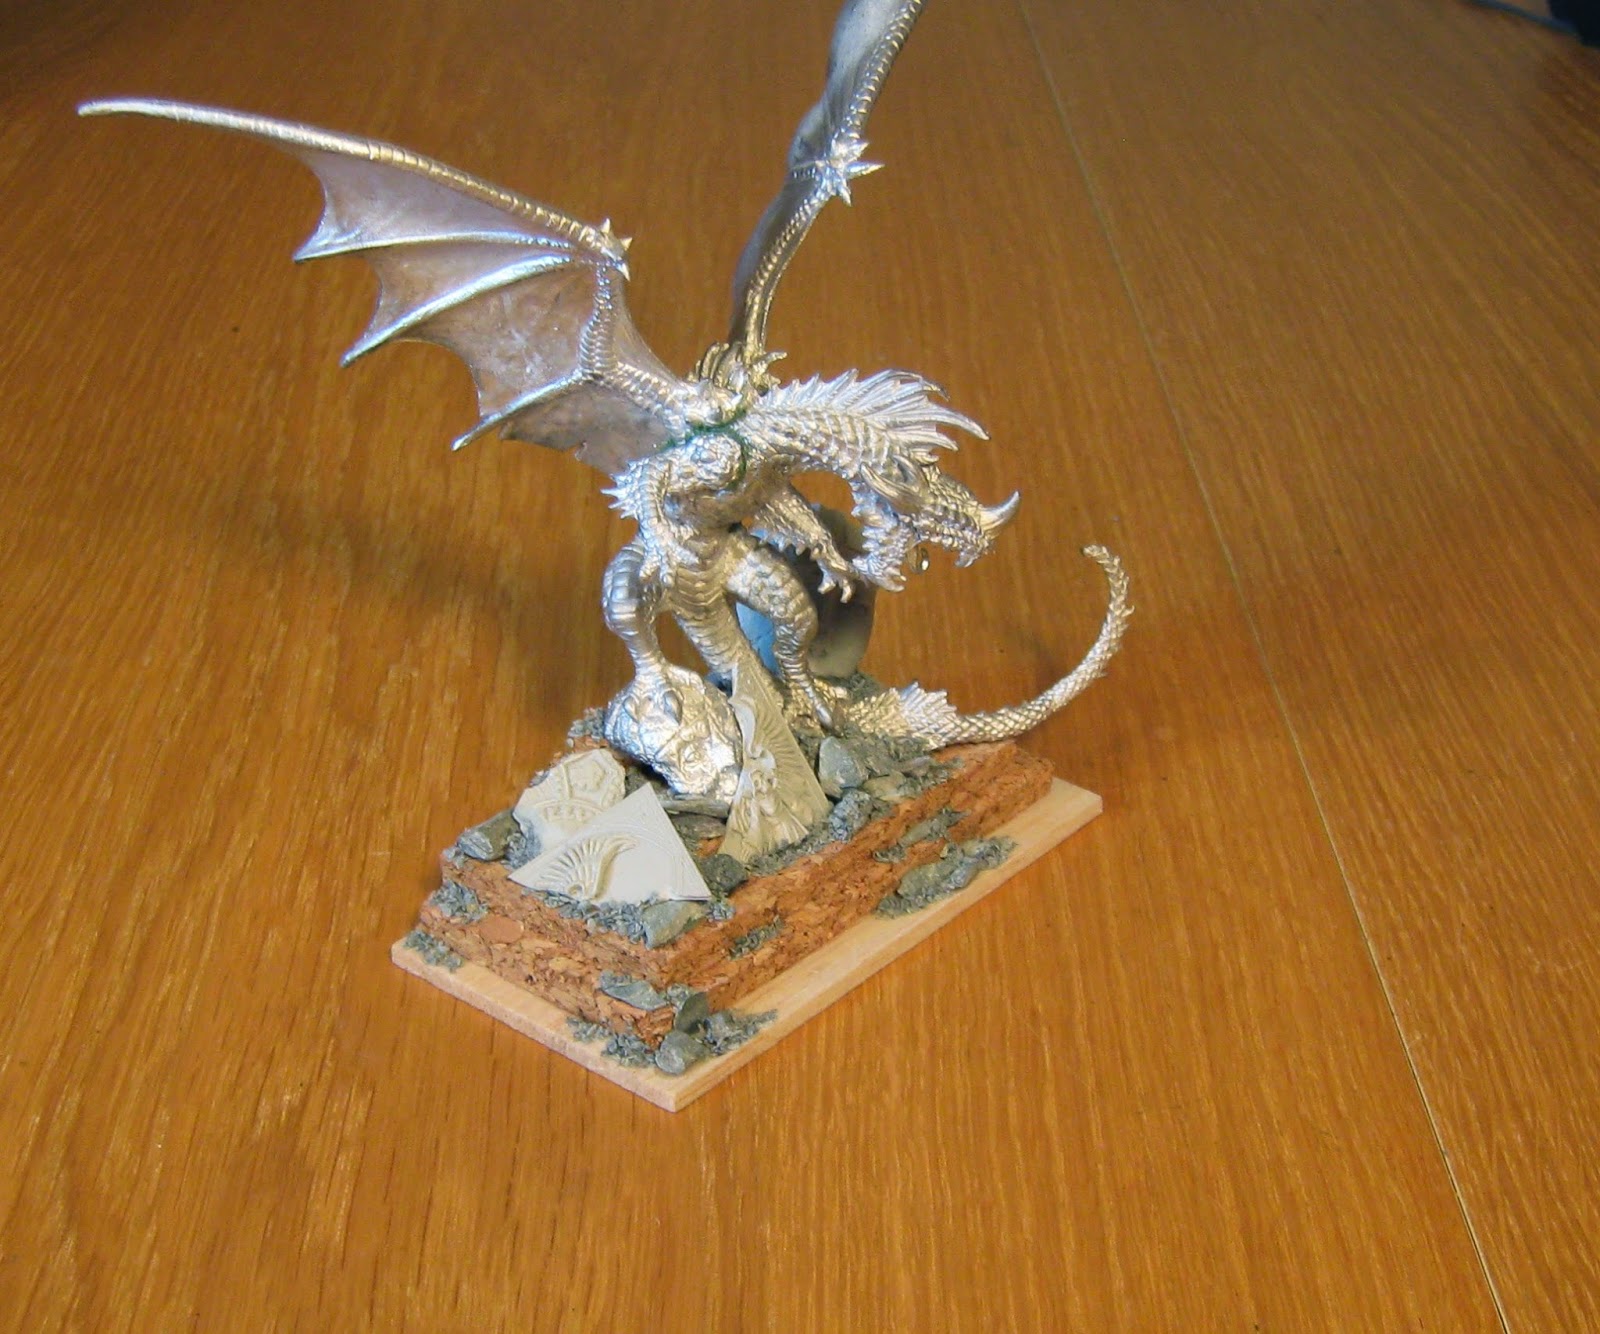
This weekend I finished off the Reaper Red Dragon I started up last week. Wonderful sculpt...love the figure.
As I noted last week, though large, the figure only comes in about 6 pieces, and the casts are pretty clean. Putty was required at the joints, and the wings were pinned.
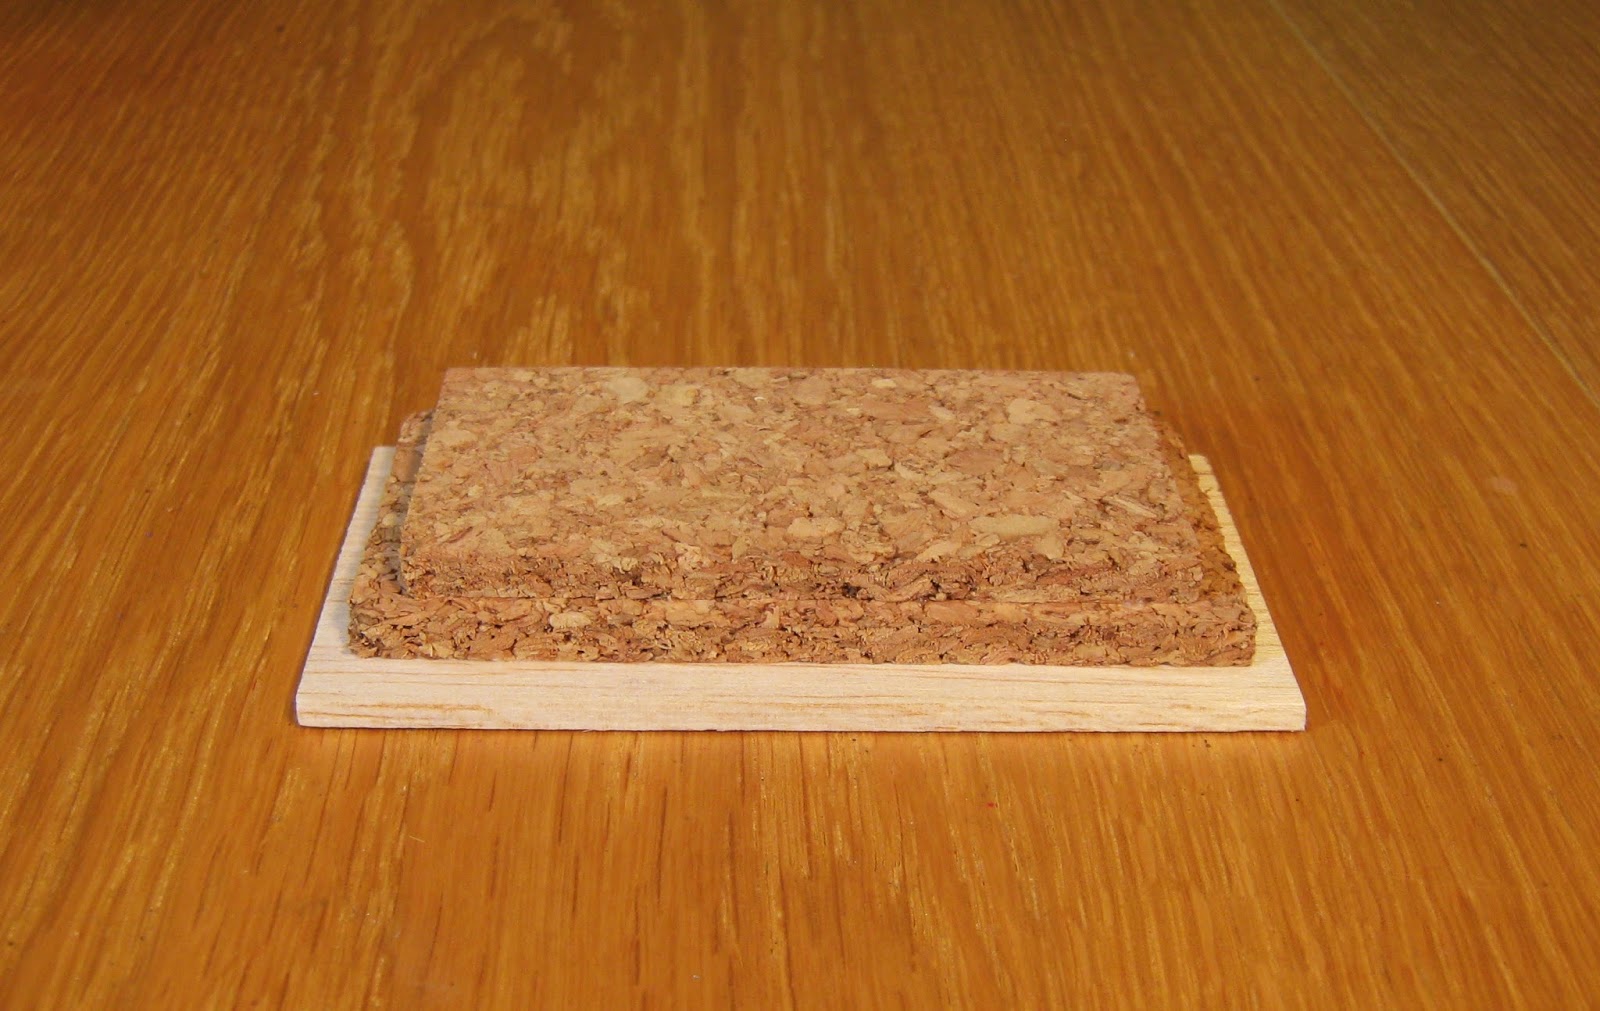
The base is made of balsa and cork sheet.
I added resin pieces to give the base some visual interest.
The dragon was primed white, while the base was given a coating of black.
The overspray is inconsequential at this stage.
The whole thing was given a coat of floor wax mixed with a little dark paint. This sealed the primer coat and provided pre-shading for the figure.
The first airbrush pass was with Vallejo Pure Red surface primer. Great coverage with this red...like it a lot, and it's airbrush-ready. The dragon was then given a highlight of Game Air Orange Fire. The wing membranes were first given a spray of Hull Red around the edges of the vanes to pre-shade them. Then, the wings were covered in Game Air Leather Brown
Airbrushing does tend to soften detail, so the entire figure was given a wash of Vallejo Red wash to pop the scales back up.
The wings were then finished off with a highlight of Game Air Khaki.
Over to the brush work. This next step took some time...I did it over three painting sessions. Each scale was hit with a highlight of Citadel Blazing Orange. The belly scales were then given a coat of P3 Ember Orange and a wash of Fleshtone Shade.
Time for details. The belly scales were highlighted with Foundry Canvas and Citadel Bleached Bone. The inside of the mouth and tongue were painted with shades a pink and then washed with red. Finally, all the horns, claws and teeth were painted with Reaper's bone colours (and later given a weak wash of light yellow-brown).
With the dragon done, it was time to move onto the base. The steps and platform were painted with Reaper's Redstone. Then, all the rubble was given successive coats of Foundry Granite, Vallejo Stone Grey, and finally, Citadel Bleached Bone.
And there you have it...one Red Dragon.
I really like how it turned out. It's a simple paint scheme, but the dynamic sculpt is what gives the figure its visual interest.
Hope you found this helpful. Please let me know in the comments section if you have any questions!
'Til next time.


Wonderful stuff Kevin and thanks for sharing the how-to!
ReplyDelete